
Eibach Pro-Kit Installation Guide for the 2014–2016 MINI Cooper F56
Posted by Mamta Sharma on 29th Oct 2026
Lowering springs can change the look and handling of your MINI Cooper F56. They reduce the gap between the tires and fenders while giving the car a sportier stance. They can also help control body movement when cornering. The Eibach Pro-Kit is a popular option for MINI owners who want a lower ride height and sharper handling while keeping their car suitable for everyday driving.
However, replacing suspension springs requires care. The work involves loaded springs, suspension parts, and important fasteners. This guide explains what to check before installation, what tools you need, and the general steps involved in fitting the Eibach Pro-Kit to a 2014–2016 MINI Cooper F56.
Important: This is a general installation overview, not a replacement for the factory service manual or Eibach's instructions. Always follow the instructions supplied with your exact spring kit.
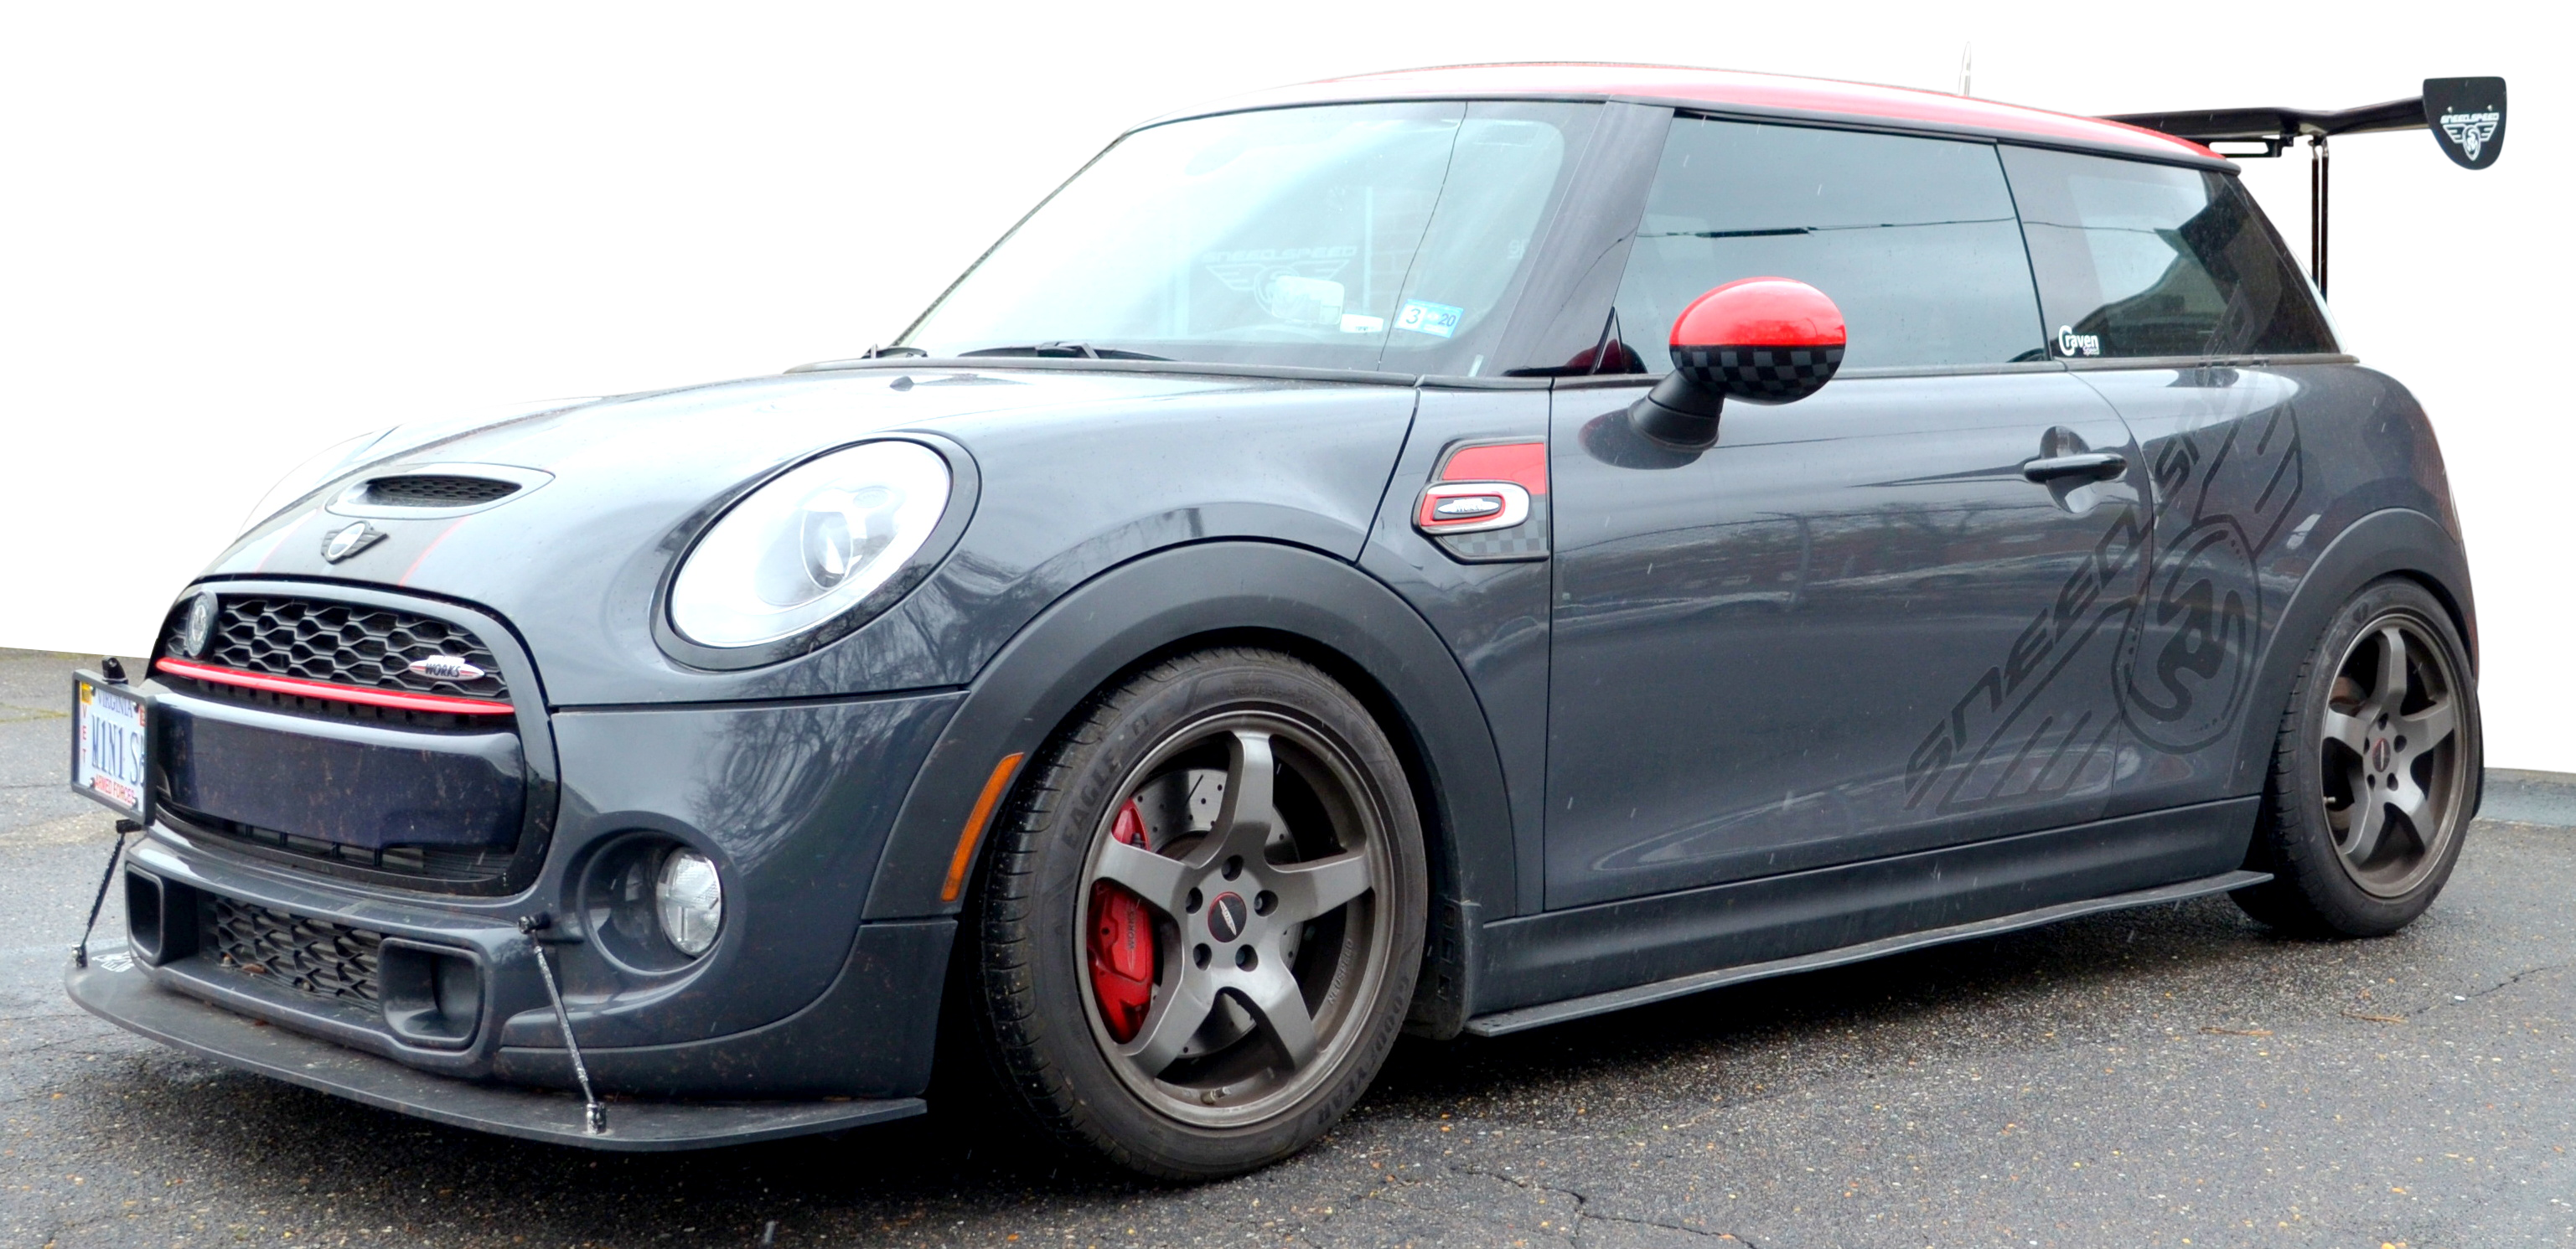
What Does the Eibach Pro-Kit Do for the MINI Cooper F56?
The Eibach Pro-Kit, part number E10-57-004-01-22, is a set of four progressive-rate lowering springs. It is designed to reduce ride height and improve handling.
For the listed application, Eibach specifies an approximate lowering of:
- Front: 1.2 inches
- Rear: 1.2 inches
The actual ride height can vary based on the vehicle's condition, equipment, and other factors. The lower ride height gives the MINI Cooper F56 a sportier appearance. The spring design also helps control body movement during cornering. Eibach lists the kit as compatible with factory dampers, provided they are in suitable condition. Before ordering, check the exact application for your vehicle. F56 spring kits can differ between the standard Cooper, Cooper S, and John Cooper Works models. Do not assume that this part number fits every F56 trim. You can view Eibach products available from SneedSpeed.
Who Should Consider This Upgrade?
The Eibach Pro-Kit may suit MINI Cooper F56 owners who want:
- A lower, sportier appearance
- Better control of body movement when cornering
- A more responsive feel during spirited driving
- A moderate suspension upgrade without moving to a full coilover setup
However, lowering springs are not right for every driver. A lower car has less ground clearance. Steep driveways, large speed bumps, rough roads, and deep dips may become harder to manage. The ride may also feel firmer than it did with the factory springs. If your MINI is mainly used on rough roads or you need extra ground clearance, consider these changes before choosing a lowering spring kit.
You should also check the condition of your factory shocks and other suspension parts. Worn or leaking dampers should be addressed before fitting new springs.
What to Check Before Installing Lowering Springs
A little preparation can help prevent problems during installation.
Before starting, check the following:
- Vehicle fitment: Confirm that part E10-57-004-01-22 is listed for your exact model, year, and trim.
- Shock condition: Inspect the factory dampers for leaks, damage, or signs of wear.
- Spring isolators: Check the factory spring seats and isolators. Replace damaged parts as needed.
- Bump stops: Follow the instructions supplied with the exact kit to determine whether any bump stop changes are required. Do not cut them based on a general recommendation.
- Alignment: Plan for a professional wheel alignment after the installation.
- Tools and safety: Use the correct spring compressor and proper vehicle support equipment.
If you are not experienced with suspension work, have a qualified technician install the springs.
Tools and Equipment Needed
The exact tools depend on the vehicle's suspension setup and the service procedure. Common equipment includes:
- Vehicle lift or floor jack with correctly rated jack stands
- Wheel chocks
- Metric socket and wrench set
- Lug bolt socket
- Torque wrench
- Suitable spring compressor
- Pry bar, where required by the service procedure
- Allen key set, if required
- Marker or paint pen
- Safety glasses and gloves
A torque wrench is important for final tightening. Use the factory service manual for the correct torque values. Do not guess or use an impact gun for final tightening.
Step-by-Step Eibach Pro-Kit Installation Process
The following steps provide a general overview of the installation. The exact removal and fitting procedure can vary with the F56 model and suspension configuration. Follow the factory service manual and Eibach instructions for your vehicle.
1. Prepare the MINI Cooper
Park the vehicle on a level surface and secure it before starting work. Check the installation instructions and gather all required tools. Measure and record the original ride height so you can compare it with the result after installation. Eibach's general instructions recommend measuring from the center of the wheel to the fender arch.
2. Raise the Vehicle and Remove the Wheels
Use a suitable vehicle lift or correctly rated lifting equipment. Support the vehicle securely before removing the wheels. Never work under a vehicle supported only by a floor jack.
3. Remove the Front Suspension Assemblies
Follow the factory service procedure to access and remove the front strut assemblies. Depending on the vehicle, this may involve disconnecting suspension links, wiring clips, and other connected parts. Support the related components during removal and take care not to place tension on brake lines or wiring. Keep track of the original hardware and the position of each component.
4. Replace the Front Springs
Use a suitable spring compressor to safely control the stored energy in the factory spring. Remove the original spring and inspect the related parts, including the upper mount, spring seats, dust boot, and bump stop. Replace any worn or damaged parts. Fit the new Eibach spring according to the supplied instructions. Make sure it sits correctly in the spring seats and that all related components are installed in the correct order and direction. Never remove a loaded spring without the proper equipment and experience.
5. Reinstall the Front Suspension
Position the assembled strut according to the factory service procedure. Reconnect all removed parts and check that wiring, brake lines, and other components are correctly routed. Tighten fasteners using the factory torque specifications.
6. Replace the Rear Springs
Follow the factory procedure to release the rear suspension safely and remove the original springs. Support the relevant suspension components before releasing any fasteners. Keep track of the spring isolators and their positions. Inspect the rear spring seats, isolators, and bump stops. Fit the Eibach springs as directed by the kit instructions, making sure they sit correctly in their seats. Do not modify the bump stops unless the instructions for this exact application require it.
7. Reassemble and Reinstall the Wheels
Reconnect all suspension components and install the wheels. Check that every removed part is back in its correct position. Tighten all fasteners to the factory specifications. Lower the vehicle carefully and tighten the wheel bolts to the correct specification.
Post-Installation Checks
Before driving, inspect the work carefully.
Check that:
- All suspension parts are correctly installed.
- Springs are seated properly in their spring seats.
- Brake lines and wiring are clear of moving suspension parts.
- All fasteners have been tightened to the correct specifications.
- Wheels are fitted and secured correctly.
- There are no visible signs of rubbing or interference.
Follow Eibach's instructions for settling the suspension and checking the installation. Do not drive the vehicle if you notice loose parts, unusual noises, or any other sign of an installation problem.
Wheel Alignment and Spring Settling
Lowering the vehicle can change suspension geometry. This may affect wheel alignment, including toe and camber. Arrange a professional wheel alignment after installing the springs. Correct alignment helps maintain predictable handling and reduces the risk of uneven tire wear. Eibach's general installation guidance also recommends checking ride height after the springs have settled. Follow the instructions supplied with your kit for the correct settling procedure. If you plan to use your MINI for track driving, discuss suitable alignment settings with a qualified alignment specialist. Do not assume that an aggressive alignment setting is right for everyday road use.
Common Issues to Watch For
Spring Noise
Clunks or squeaks may occur if a spring is not seated correctly or a related component is installed incorrectly. Have the suspension inspected if you hear unusual noises after installation.
Unexpected Ride Height
The final ride height may vary from the advertised figure. Vehicle condition, equipment, and suspension setup can affect the result. Compare the measurements before and after installation.
Steering Pull or Uneven Tire Wear
If the steering pulls to one side or the tires begin to wear unevenly, have the wheel alignment checked. Do not ignore changes in steering or handling.
Reduced Ground Clearance
Lowering springs reduce the space between the vehicle and the road. Take extra care around steep driveways, speed bumps, and uneven surfaces.
Poor Ride Quality
A firmer ride is common with sport lowering springs. However, harsh impacts, repeated bottoming, or unusual suspension noises should be checked by a qualified technician.
Frequently Asked Questions
- Can I use the Eibach Pro-Kit with factory shocks?
Yes. Eibach lists the Pro-Kit for use with factory dampers. However, the shocks must be in good condition. Inspect them before installation and replace worn or leaking dampers. - Do I need to cut the bump stops?
Do not assume that bump stop trimming is required. Check the instructions supplied with part E10-57-004-01-22 and follow the guidance for your exact vehicle. - Do I need a wheel alignment after installing lowering springs?
Yes. Lowering the vehicle can change its suspension geometry. Arrange a professional alignment after installation. - How much does the Eibach Pro-Kit lower the MINI Cooper F56?
Eibach lists an approximate 1.2-inch drop at the front and rear for this application. The actual result may vary depending on the vehicle and its condition. - Can I install the springs at home?
An experienced DIY mechanic with the correct tools may be able to complete the work. However, spring replacement involves stored spring tension and safety-critical suspension parts. If you do not have the right equipment or experience, use a qualified suspension shop. - Will lowering springs affect everyday driving?
They can. You may notice a firmer ride and reduced ground clearance. Consider your usual roads and driving needs before installing the kit. - Does this part number fit every F56 MINI Cooper?
No. Do not assume that part E10-57-004-01-22 fits every F56 trim. Confirm the exact year, model, engine, and application with Eibach or SneedSpeed before ordering.
Conclusion
The Eibach Pro-Kit can give the MINI Cooper F56 a lower stance and sharper handling. It is a useful upgrade for owners who want a sportier feel while keeping their car suitable for regular driving. However, correct fitment and installation are important. Check your vehicle details before ordering, inspect the factory suspension, and follow the instructions supplied with the kit. Arrange a professional alignment after the installation to help maintain safe and predictable handling. Ready to upgrade your MINI's suspension? Visit SneedSpeed's Eibach range to check available products and confirm fitment for your vehicle.