
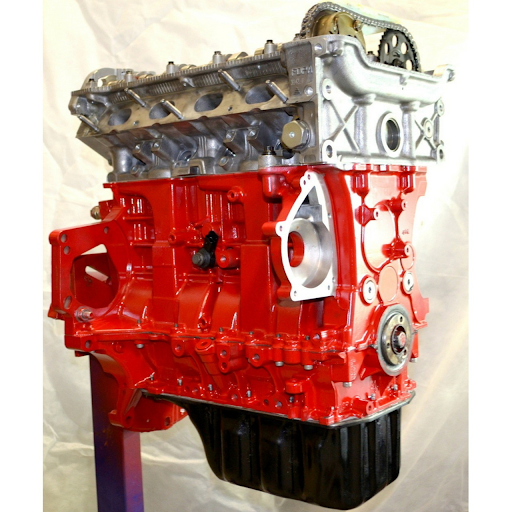
How to Rebuild a BMW R53 Engine with a SneedSpeed Kit (Complete Step-by-Step Guide)
Posted by Mamta Sharma on 12th Jan 2026
Rebuilding a BMW R53 engine is one of the most satisfying projects a MINI Cooper S owner can take on. This supercharged engine is small but powerful, and after years of driving, it can start to show where oil consumption increases, noises appear, and performance drops. For many enthusiasts, a full rebuild is the only way to bring it back to life.
Knowing how to rebuild the R53 engine correctly makes all the difference. Using a SneedSpeed R53 kit step by step takes a lot of the guesswork out. Instead of tracking down each part separately, you have everything you need in one package, built to fit and perform perfectly. This guide walks through the entire MINI Cooper S rebuild process, with tips and advice from hands-on experience.
How a Planned Approach Improves Your Engine Rebuild
The R53 engine is precise and sensitive. Small mistakes, like a bearing installed incorrectly or a piston seated improperly, can lead to big problems with oil leaks, strange noises, or even engine failure. That’s why approaching the rebuild methodically is so important.Using a SneedSpeed R53 kit step by step makes the process smoother. You know every part is correct, and you can focus on doing the work right. A proper plan gives consistent results, less frustration, and a reliable engine that will last for years.
Engine Removal and Disassembly
Pulling the engine out of a MINI Cooper S might seem intimidating, but with a little planning, it goes smoothly.
Preparing the Engine
Before removing anything:
- Disconnect the battery
- Drain all fluids (oil, coolant, etc.)
- Label wiring and vacuum hoses
- Take photos of the engine bay for reference
Doing this saves a lot of time when putting everything back.
Taking Apart the Engine
Once the engine is out:
- Remove components one section at a time
- Keep bolts and hardware in labeled bags
- Organize parts by system
Inspecting Every Component
Inspection is where the rebuild really starts. This is when you decide which parts can be reused, which need machining, and which should be replaced.
Checking the Cylinders
Look for:
- Scratches or scoring
- Cylinders out-of-round
- Uneven wear
Light wear can usually be honed, but deep damage may require professional machining.
Examining the Crankshaft and Bearings
Check:
- Journals for scratches or heat marks
- Bearing surfaces for wear
- Thrust clearances
Using proper measuring tools ensures accuracy. Visual checks alone aren’t enough for a reliable rebuild.
Inspecting Timing Components
The R53 timing chain and tensioners take a beating. Make sure to inspect:
- Chain stretch
- Worn guides
- Tensioners
Documenting Everything
Write down your measurements and observations. Knowing exactly what you’re working with makes assembly easier and reduces mistakes when using the SneedSpeed R53 kit step by step.
Preparing the Block and Components
After inspection, preparation is key. Cleaning and checking everything ensures the rebuild goes smoothly.
Cleaning the Block
- Flush oil passages
- Remove carbon and old gasket material
- Make sure all surfaces are clean
Debris in the engine can ruin new bearings or pistons, so don’t skip this step.
Honing the Cylinders
- Restore crosshatch patterns
- Ensure the rings seat correctly
- Remove any glazing
Proper honing improves compression, oil control, and longevity.
Checking Clearances
- Verify bearing clearances
- Confirm oil gaps match factory specs
Installing the SneedSpeed R53 Kit Components
This is where the rebuild comes together. The SneedSpeed R53 kit step by step contains all the parts you need, making assembly straightforward.
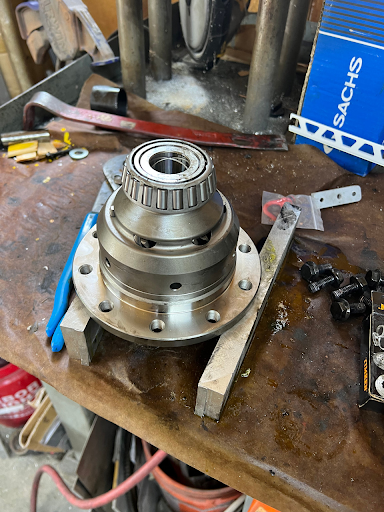
Bearings
- Apply assembly lube
- Install carefully
- Torque to spec
Check that the crank spins smoothly before moving to pistons.
Pistons and Rings
- Confirm piston orientation
- Check ring gaps
- Install slowly to avoid damage
Timing Components
- Install new chain, guides, and tensioners
- Follow torque specifications exactly
Gaskets and Seals
Replace all gaskets and seals:
- Head gasket
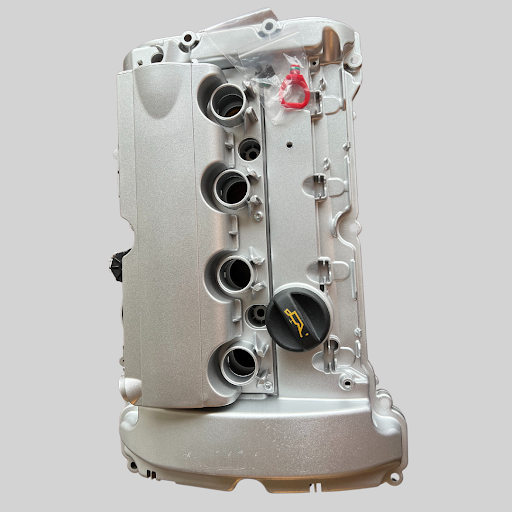
- Valve cover gasket
- Oil seals
Reassembly of Ancillary Components
Once the engine internals are complete, reinstall external systems.
Reinstalling Parts
- Intake manifold
- Exhaust system
- Cooling system
- Supercharger connections
Fluids and Startup Preparation
- Fill engine with oil
- Prime oil system
- Add coolant
- Inspect for leaks
Engine Break-In
Break-in is often overlooked, but it’s just as important as the rebuild.
Controlled Break-In
- Vary RPM gradually
- Avoid long periods at idle
- Don’t use full throttle in the first 500 miles
Monitoring
- Check oil pressure and temperature
- Listen for unusual noises
- Inspect fluid levels
Common Mistakes to Avoid
Even experienced builders can make errors. Watch out for:
- Reusing worn timing parts
- Skipping measurements
- Ignoring torque specs
- Mixing old and new hardware
Maintenance After Rebuild
After a rebuild, proper maintenance ensures long-term performance:
- Change oil and filter after 500 miles
- Use high-quality synthetic oil
- Inspect belts, hoses, and gaskets regularly
- Monitor coolant levels
Benefits of a Rebuilt R53 Engine
After a successful rebuild, your MINI Cooper S will feel:
- Smooth at all RPMs
- More responsive and powerful
- Quieter with reduced oil consumption
- Reliable and long-lasting
Following this MINI Cooper S rebuild process guarantees your engine will perform like new or even better.
Conclusion
Learning how to rebuild an R53 engine takes patience, focus, and quality parts. A SneedSpeed R53 kit step by step removes much of the uncertainty, making the rebuild predictable and reliable. From teardown to break-in, a structured approach ensures your engine is restored properly. With this guide, your MINI Cooper S will gain renewed performance, reliability, and the confidence to handle spirited driving for years. Contact us today to get started on your R53 engine rebuild!