
Step-by-Step Installation Guide for the Eibach Pro-Kit on the 2011–2016 MINI Cooper Countryman
Posted by Mamta Sharma on 29th Oct 2026
The factory suspension on the 2011–2016 MINI Cooper Countryman offers a balance of comfort and handling. But if you want a lower stance and a firmer feel through corners, lowering springs can be a useful upgrade. The Eibach Pro-Kit E10-57-003-02-22 is a set of lowering springs designed for select 2011–2016 MINI Cooper Countryman models. It uses progressive spring rates to help improve handling and reduce the gap between the tires and fenders. Installing new springs takes the right tools, careful preparation, and attention to safety. This guide explains what the Eibach Pro-Kit changes, what to check before installation, and the general steps involved in fitting the springs. Before ordering, check the R60 MINI Countryman parts listing and confirm that the kit matches your exact vehicle.
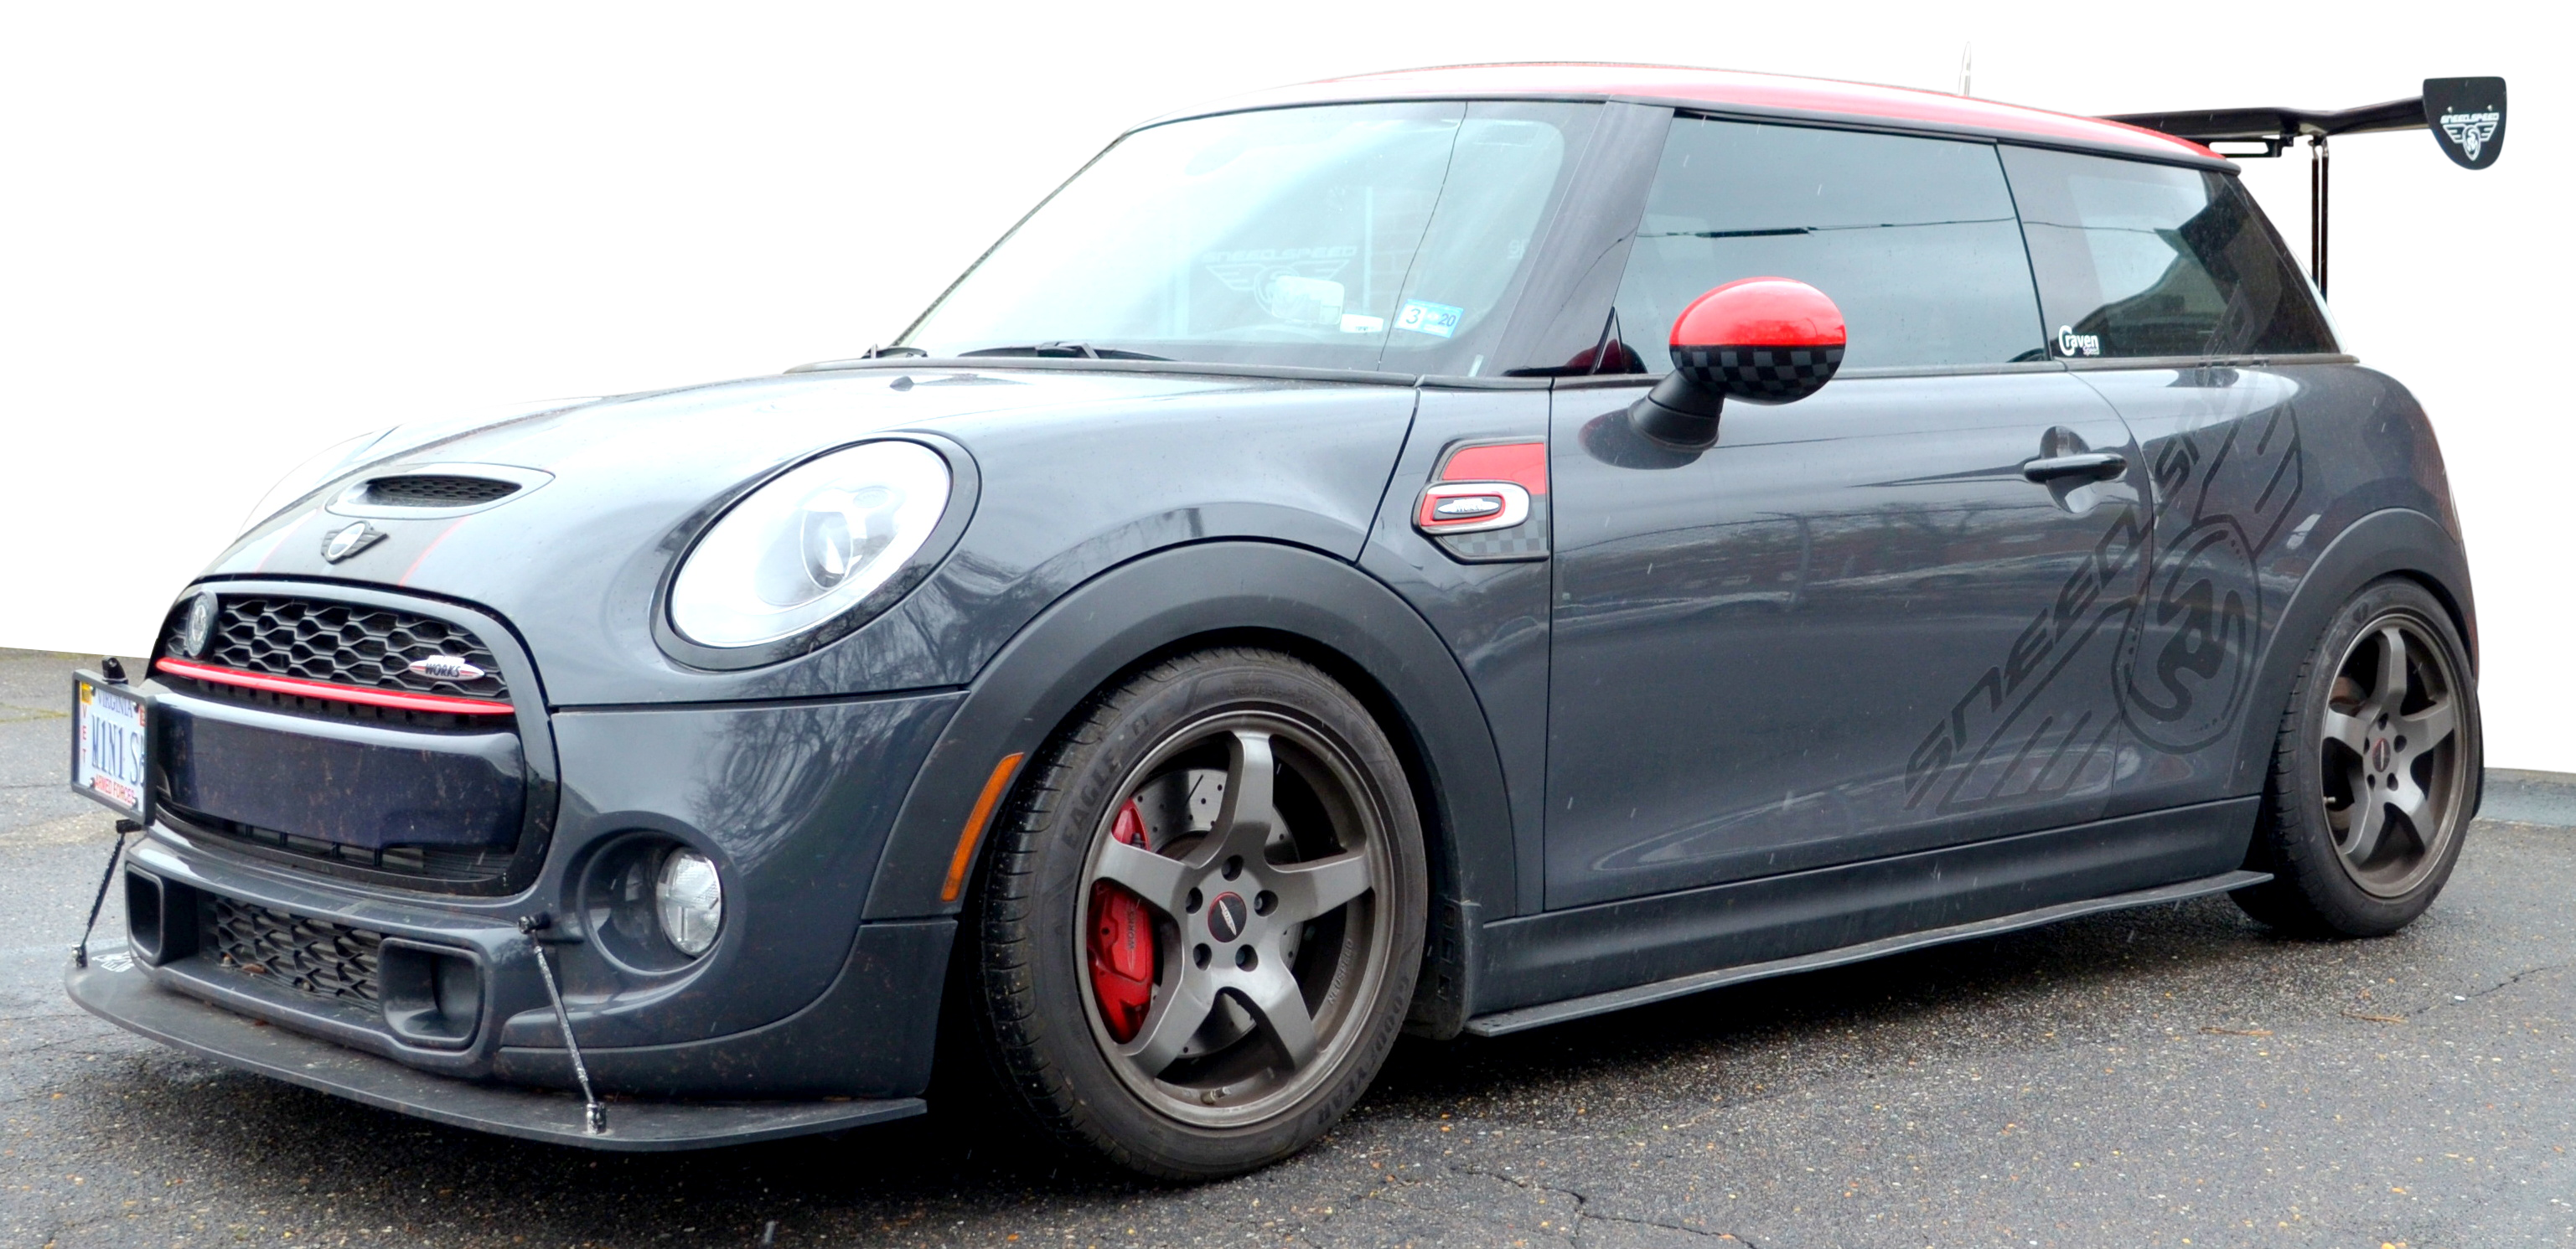
Why Install the Eibach Pro-Kit?
What Are the Limits of the Factory Suspension?
The factory springs on the R60 MINI Countryman are designed for everyday driving. They balance ride comfort, handling, and ground clearance. However, some owners may want a lower ride height or a firmer suspension feel. Common reasons for choosing lowering springs include:
- Large wheel gap: The space between the tires and fenders may look higher than you prefer.
- Body roll: The vehicle may lean during sharp turns.
- Soft suspension response: You may want a firmer feel during cornering and other driving movements.
- Factory appearance: A lower stance can give the Countryman a more performance-focused look.
The right spring setup can help change the way your MINI looks and feels.
What Does the Eibach Pro-Kit Change?
The Eibach Pro-Kit includes progressive-rate lowering springs. These springs replace the factory units and are designed to lower the vehicle. Progressive springs change their resistance as they compress. This design aims to provide a balance between everyday comfort and added support when the suspension is under greater load.
The expected benefits include:
- Lower ride height: Helps reduce the gap between the tires and fenders.
- Firmer handling: Provides a more controlled suspension feel.
- Reduced body roll: Helps limit excessive body movement during cornering.
- Sportier appearance: Gives the Countryman a lower, more aggressive stance.
The kit is designed for street-focused use. It may suit drivers who want a sportier daily setup without moving to a fully adjustable coilover system.
Who Should Consider This Upgrade?
The Eibach Pro-Kit may be a good choice if you:
- Want to lower your MINI Countryman's ride height.
- Prefer a firmer suspension feel.
- Want improved control during spirited street driving.
- Do not need the adjustability of a coilover setup.
- Have factory dampers that are still in good condition.
When Should You Keep the Factory Springs?
Lowering springs may not suit every driver. Consider keeping your factory setup if:
- You regularly drive on rough roads.
- You need maximum ground clearance.
- You often carry heavy loads.
- You prefer a softer ride.
- You are happy with your current ride height and handling.
Lowering the vehicle can reduce available suspension travel and change how it responds to bumps. Consider your daily driving conditions before making the change.
What to Check Before Installation
Prepare the vehicle and inspect the suspension before removing the factory springs. This can help prevent delays and avoid problems after installation.
1. Confirm Your MINI's Fitment
The Eibach Pro-Kit covered in this guide has part number E10-57-003-02-22. The product listing identifies it for select 2011–2016 MINI Cooper Countryman models. Check your exact model year, trim, and drivetrain before ordering. Do not assume the kit fits every Countryman version. You can start with the 2011–2016 R60 Countryman parts listing and confirm the product's full fitment details before purchase.
If your MINI has aftermarket struts or other suspension changes, check compatibility before installing the springs.
2. Inspect the Shocks and Suspension Parts
Check the condition of the existing suspension components. Pay close attention to:
- Front struts and rear shocks
- Strut and shock mounts
- Rubber spring pads and isolators
- Suspension bushings
- Bump stops
- Mounting hardware
Look for leaks, cracks, damage, and worn rubber parts. Replace any components that are no longer in good condition. The original article suggests replacing dampers after 40,000–60,000 miles. However, mileage alone is not enough to determine whether a shock or strut needs replacement. Check its condition and follow the relevant service guidance.
3. Gather the Required Tools
Have the correct tools ready before starting.
Common tools and equipment include:
- Floor jack
- Suitable jack stands
- Wheel chocks
- Socket set, including the required E-Torx sockets
- Wrenches
- Breaker bar
- Torque wrench
- Suitable spring compressor
- Pry bar, if needed
- Penetrating oil for rusty fasteners
- Safety glasses and gloves
The exact tools can vary by vehicle and fastener type. Check the MINI workshop information before starting.
4. Prepare a Safe Work Area
Park the Countryman on a flat, stable surface. Make sure there is enough space to remove the wheels and work around the suspension. Use suitable jack stands and follow the vehicle's approved lifting points. Never work under a vehicle supported only by a hydraulic jack. Keep the MINI service manual and Eibach installation instructions nearby. You will need the correct procedure and torque specifications for your vehicle.
Step-by-Step Eibach Pro-Kit Installation
Important: The steps below provide a general overview of the installation process. They are not a replacement for the official MINI workshop procedure or Eibach instructions. Suspension designs and procedures can vary by model and trim. Follow the correct instructions and torque specifications for your vehicle.
Step 1: Prepare and Lift the Countryman
- Park the vehicle on a flat surface.
- Apply the parking brake and chock the wheels.
- Loosen the wheel bolts slightly before lifting the vehicle.
- Use the approved lifting points to raise the vehicle.
- Support it securely with suitable jack stands.
If the work requires access to suspension sensors or electrical connections, follow the workshop manual's instructions for electrical safety.
Step 2: Remove the Wheels
Remove the wheels to access the front and rear suspension. Keep the wheel bolts and other hardware organized. This will make reassembly easier and help prevent parts from getting lost.
Step 3: Remove the Front Strut Assemblies
The front springs are fitted around the strut assemblies.
The general removal process includes:
- Remove the wiper cowl if the service procedure requires it for access to the upper strut mounts.
- Disconnect the sway bar end links from the strut assembly as instructed.
- Release the required brake-line and wiring brackets from the strut.
- Remove the strut-to-knuckle fasteners using the correct tools.
- Support the strut assembly while removing the upper mounting fasteners.
- Carefully remove the complete strut assembly.
Support connected brake and suspension components during this process. Do not allow brake hoses or wiring to hang under tension.
Step 4: Remove the Factory Front Springs
The front coil springs store a large amount of energy. You must use a suitable spring compressor and follow its instructions.
- Secure the strut assembly in a stable position.
- Fit the spring compressor correctly.
- Compress the spring evenly until it no longer presses against the upper mount.
- Remove the strut top nut only after the spring tension has been safely released.
- Remove the upper mount, isolator, and related components as instructed.
- Carefully release the spring compressor and remove the factory spring.
Never try to remove the top nut while the spring is still under tension. A spring that releases suddenly can cause serious injury. If you do not have the correct spring compressor or experience using one, have a qualified suspension technician complete this step.
Step 5: Install the Eibach Front Springs
Compare the new Eibach springs with the factory springs and check the manufacturer's instructions for the correct orientation.
- Inspect the spring seats, isolators, and mounts.
- Transfer reusable parts as instructed.
- Position the Eibach spring correctly on the strut.
- Make sure the spring ends sit in their correct positions.
- Reinstall the upper mount and related components.
- Tighten the fasteners to the specified torque values.
Do not guess the torque settings. Use the correct MINI workshop information and Eibach instructions.
Step 6: Reinstall the Front Struts
Carefully position the assembled strut in the vehicle.
- Fit the upper mounting fasteners.
- Reconnect the strut to the steering knuckle.
- Reattach the sway bar end link and required brackets.
- Secure the brake lines and wiring in their correct positions.
- Check that nothing is twisted, stretched, or trapped.
- Tighten the fasteners according to the factory procedure.
Make sure all suspension connections are secure before moving to the rear springs.
Step 7: Remove and Replace the Rear Springs
The rear spring replacement process involves supporting the suspension arm and carefully releasing spring tension.
The general process includes:
- Move or remove interior trim if the service procedure requires access to the rear shock mounts.
- Support the rear suspension arm with a suitable jack.
- Remove the required lower shock fastener according to the workshop manual.
- Lower the suspension arm slowly and carefully.
- Remove the factory spring and note the position of its rubber isolators.
- Install the Eibach rear spring in the correct orientation.
- Check that the spring sits properly in the upper and lower seats.
- Raise the suspension arm and reconnect the required components.
Do not lower the suspension arm without supporting it. Follow the correct procedure for your Countryman's rear suspension.
Step 8: Reassemble the Suspension
Before reinstalling the wheels, check the front and rear suspension.
Confirm that:
- All springs are seated correctly.
- Spring isolators and mounts are in place.
- Strut and shock connections are secure.
- Brake lines and wiring are routed correctly.
- All required brackets and links have been reconnected.
Tighten each fastener using the specified procedure. Some suspension bushings must be tightened at normal ride height to avoid unwanted preload. Follow the MINI workshop instructions for the exact fasteners involved.
Step 9: Reinstall the Wheels and Lower the Vehicle
- Reinstall the wheels.
- Hand-tighten the wheel bolts.
- Lower the vehicle carefully.
- Tighten the wheel bolts to the factory torque specification using the correct sequence.
Do not use a guessed torque value. Check the correct specification for your vehicle.
Step 10: Settle the Suspension and Arrange an Alignment
Once the vehicle is back on the ground, follow the Eibach instructions for settling the suspension.
Then:
- Check the ride height on level ground.
- Inspect tire and wheel clearance.
- Look for any signs of rubbing or contact.
- Arrange a professional four-wheel alignment.
Lowering the vehicle changes suspension geometry. A professional alignment helps correct toe and camber settings and can reduce uneven tire wear.
Common Installation Mistakes to Avoid
A careful installation helps protect your vehicle and the new springs. Avoid these common mistakes:
- Skipping the spring compressor: Never remove a loaded front spring without the correct tool.
- Ignoring worn suspension parts: Damaged mounts, bushings, or dampers can affect the result.
- Installing springs in the wrong position: Follow the Eibach instructions for spring orientation and seating.
- Guessing torque values: Use the correct MINI factory specifications.
- Forgetting brake lines and wiring: Check that all connections are secure and correctly routed.
- Skipping the alignment: Arrange a professional alignment after changing the ride height.
- Rushing the final inspection: Check the complete installation before driving.
What to Expect After Installing the Eibach Pro-Kit
The Eibach Pro-Kit is designed to lower the Countryman and provide a firmer suspension feel.
After installation, you may notice:
- A lower stance and smaller wheel gap.
- Less body movement during cornering.
- A firmer response from the suspension.
- More road feedback over rough surfaces.
- Reduced ground clearance.
The exact ride height and driving feel can vary based on the vehicle's trim, existing suspension condition, and other modifications. Take a careful test drive in a safe area. Listen for unusual noises and check for rubbing or contact. If you notice clunks, pops, or unexpected handling changes, have the suspension inspected before continuing to drive. Follow the manufacturer's instructions for any post-installation inspections or fastener checks. Do not rely on a general mileage-based re-torque rule.
What to Know Before You Choose Lowering Springs
Ride Quality
Lowering springs can provide a firmer suspension feel than the factory setup. You may notice less body roll, but bumps and rough roads may feel more noticeable. If your daily routes have poor road surfaces, consider whether the lower ride height and firmer feel will suit your needs.
Ground Clearance
A lower vehicle has less space underneath. Take extra care around speed bumps, steep driveways, ramps, and uneven roads.
Insurance and Vehicle Inspections
Suspension modifications may affect insurance requirements, vehicle inspections, or local road rules. Check the regulations that apply in your area before making changes. Keep your original springs if you may want to return the vehicle to its factory setup later.
Lowering Springs vs. Coilovers
The Eibach Pro-Kit is a spring upgrade for drivers who want a lower stance and a firmer street setup. Coilovers may be a better option if you need adjustable ride height or more suspension tuning for regular track use. Choose a setup based on how you use your Countryman.
Frequently Asked Questions
- Why Do I Need a Wheel Alignment After Installing Lowering Springs?
Lowering the vehicle changes its suspension geometry. This can affect wheel alignment settings, including toe and camber. A professional four-wheel alignment helps restore the correct settings and reduce uneven tire wear. - Will the Eibach Pro-Kit Make My Countryman Too Low for Daily Driving?
The kit is designed as a street-focused lowering spring upgrade. However, the available ground clearance will be reduced. If you regularly drive on rough roads or need maximum clearance, the factory springs may be a better choice. - Can I Install the Eibach Pro-Kit at Home?
An experienced DIY mechanic with the correct tools and a safe workspace may be able to complete the job. However, spring installation involves parts under high tension. If you are unfamiliar with suspension work or spring compressors, use a qualified workshop. - Do I Need to Replace the Shocks with the Eibach Pro-Kit?
Not automatically. The condition of your existing shocks and struts matters. Inspect them for leaks, damage, and wear before installing the new springs. Replace any dampers that are no longer in good condition. - Does the Eibach Pro-Kit Fit Every 2011–2016 MINI Countryman?
The product listing identifies the kit for select 2011–2016 Countryman models. Always confirm your exact year, trim, and drivetrain before ordering. Do not assume that every version has the same fitment. - Can I Return My Countryman to Its Factory Ride Height?
Yes, if you keep your original springs and the required hardware in good condition. Store the original parts safely if you may want to reinstall them later.
Conclusion
The Eibach Pro-Kit E10-57-003-02-22 can be a useful suspension upgrade for compatible 2011–2016 MINI Cooper Countryman models. It is designed to lower the vehicle and provide a firmer, more controlled feel without moving to a full coilover setup. Before installation, confirm fitment and inspect the existing shocks, mounts, and suspension parts. Use the correct tools, follow the official installation instructions, and arrange a professional wheel alignment after the work is complete. Ready to update your Countryman's suspension? Visit the R60 MINI Countryman parts listing at SneedSpeed to check the Eibach Pro-Kit and other parts for your MINI.
Built from Racing. Proven by Results.