
R53 MINI Cooper Install And Torque Resource Guide
Posted by Mamta Sharma on 5th Aug 2026
When setting up an R53 or R52 MINI Cooper S / JCW for improved performance, choosing the right modifications is only half the process. Proper installation, exact fastener torque values, and verifying supporting maintenance history determine whether your upgrades perform reliably or end up causing unwanted downtime. At SneedSpeed, our approach is simple: Built from Racing. Proven by Results. This guide serves as a practical, builder-level technical resource to help you evaluate your build path, access critical installation specs, and make confident decisions before ordering parts.
The Recommended Upgrade Logic
Before adding power or stiffer components, slow down and establish a clean baseline.
Follow this step-by-step logic to ensure every modification makes sense for your build:
- Confirm Vehicle Identity: Clearly identify your exact chassis (R50, R52, or R53), engine family, and any existing aftermarket modifications already on the car.
- Define the Use Case: Determine whether your car is a daily street driver, a weekend track-day vehicle, or a dedicated race build. Supporting requirements change drastically depending on duty cycle.
- Assess Engine Baseline & Maintenance: Evaluate current engine health, leak history, and wear items. High-mileage or track-driven Supercharged Tritec engines often require foundational refreshing before high-boost or heavy-track upgrades are added.
- Review Technical & Torque Specifications: Always verify proper bolt torque sequences and fastener specs before cracking open a bolt or ordering rebuild hardware.
- Avoid Selection Based on Hype: Base your choices on proven engineering and verified fitment, rather than forum lists or unsupported performance claims.
Pre-Installation Baseline Check & Shop Prep
Jumping straight into installation without proper shop preparation is one of the most common mistakes when upgrading an R53.
Before unbolting factory hardware or opening new parts packages, complete a thorough diagnostic and workspace assessment:
- Evaluate Mechanical Health: Conduct a compression and leak-down test across all four cylinders. Upgrading supercharger pulleys or adding high-flow components to an engine with already compromised ring seal or valve guide wear will accelerate mechanical failure.
- Inspect Key Wear Points: Inspect the crank damper (harmonic balancer) for rubber degradation, check the passenger-side hydraulic engine mount for fluid leaks, and inspect the front control arm bushings. Resolving baseline maintenance issues prevents misdiagnosing installation issues later.
- Organize Fasteners & Label Wiring: The R53 engine bay is notoriously compact. Use labeled containers or layout boards for engine front-end service (service mode) bolts, sensor plugs, and vacuum lines to ensure everything returns to factory positions.
Critical Fastener & Torque Management Principles
Understanding how fasteners behave on the Tritec engine platform is essential for reliable long-term performance. Whether executing routine bolt-on installs or doing a full cylinder head swap, observe these assembly practices:
Torque-to-Yield (TTY) Hardware Awareness
Many critical engine fasteners on the 2002–2006 MINI Cooper S—including cylinder head bolts, rod bolts, and main cap bolts—are designed as single-use, Torque-to-Yield hardware. These bolts stretch permanently when torqued to spec to maintain consistent clamping force.
Important Safety Note: Never reuse stretched TTY hardware. Always replace single-use engine bolts with fresh hardware during a rebuild or head service, and follow multi-stage torque sequences precisely as outlined in the SneedSpeed Torque Spec Guide.
Proper Thread Preparation & Lube
Incorrect thread friction will throw off torque readings, resulting in either under-clamped components or stripped aluminum threads.
- Clean Clean Clean: Always chase threads and clean blind holes of oil, coolant, or debris before threading bolts.
- Follow Lube Specs: Distinguish between specs calling for clean engine oil, dry assembly, or specialized thread lubricants (such as ARP Ultra-Torque). Torque values differ significantly depending on the lubricant used.
Supporting Upgrades & System Interactions
When upgrading one area of an R53, you inevitably change the operational stress on adjacent systems. Planning for supporting modifications ensures your build remains reliable under higher loads.
|
Upgrade Area |
Supporting Requirement |
Why It Matters |
|
Supercharger / Power Upgrades |
Colder Spark Plugs & Belt Inspection |
Prevents high-boost detonation; keeps belt alignment true to avoid slippage or premature failure. |
|
Track / Performane Rebuilds |
Baffled Oil Pan & Oil Cooling |
Prevents oil starvation in high-G cornering and controls oil temperatures under sustained load. |
|
Suspension & Chassis Stiffening |
Reinforced Strut Tower Plates |
R53 strut towers are prone to "mushrooming" under heavy impact or stiffer spring rates. |
|
Clutch / Flywheel Replacemet |
Crankshaft Rear Main Seal & Guide Tube |
Replacing wear items while the transmission is detached saves hours of labor down the road. |
Post-Install Verification & Break-In Protocol
The installation isn't finished when the last wrench is put away.
A systematic post-install verification process protects your engine and components during their first thermal cycles:
- Fluid Check & System Bleeding: Verify oil, transmission fluid, and coolant levels. Bleeding the cooling system on an R53 requires patience—utilize both bleed screws (near the thermostat housing and upper hose) to prevent trapped air pockets.
- Initial Thermal Cycle: Allow the engine to idle up to operating temperature while checking for oil, fuel, or coolant leaks. Check scanner data for smooth fuel trims and normal operating temperatures.
- Re-Torque Requirements: Critical chassis components, lug bolts, and exhaust hardware should be re-checked for proper torque after the initial drive cycle and thermal expansion.
Key Technical Resources & Installation Paths
Whether you are performing routine maintenance, replacing worn engine components, or executing a full performance overhaul, having the correct specs on hand is critical to preventing engine damage or fastener failure.
- Fastener Torque Specs: Before assembling engine components, cylinder heads, or chassis hardware, refer to the verified 002–2006 MINI R50/R52/R53 Cooper, Cooper S, JCW, & GP Torque Specs Chart.
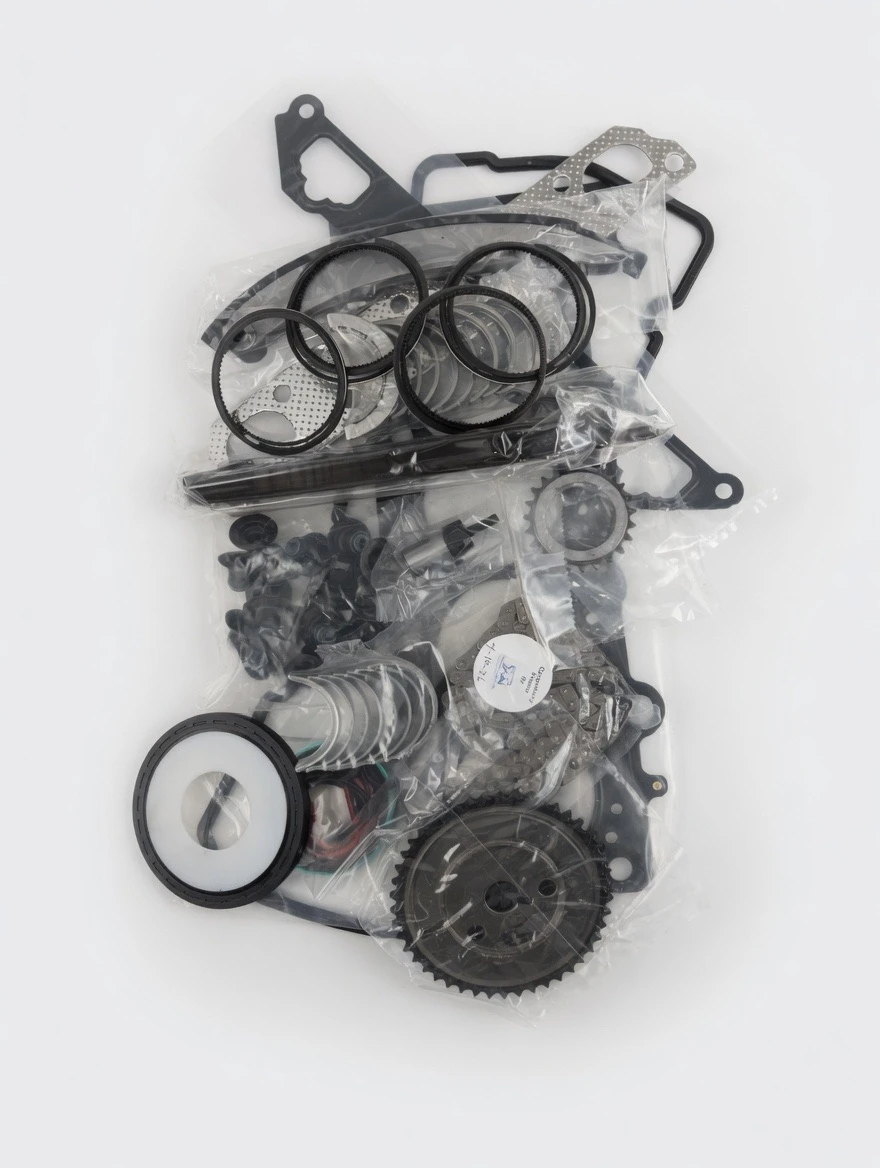
- Engine Rebuild & Overhaul: If you are rebuilding a high-mileage or track-stressed engine, explore the complete R53 MINI Cooper S JCW Engine Rebuild Kit or check out our full selection of Engine Rebuild Kits.
- Installation Guides & Technical Support: Browse our Blog / Installation Resources and SneedSpeed Tech School for deep-dive technical articles, race-tested tips, and builder guidance.
Fitment Note: Always confirm your exact R50/R52/R53 chassis, engine family, and intended use case with SneedSpeed before placing an order. Even when a product page matches your vehicle year, slight mid-generation updates or prior owner modifications can affect component fitment.
Frequently Asked Questions
-
What should I upgrade first for the best first mods on an R53 MINI Cooper?
Start by assessing your engine's current condition, maintenance history, and planned vehicle use (street vs. track). Foundational upgrades and maintenance items should always precede aggressive power mods. Have SneedSpeed review your exact chassis and engine setup before ordering. -
Does this guide make specific performance claims?
No. This guide provides objective, practical installation logic and technical references without unsupported pressure, output, pricing, or durability claims. -
Which SneedSpeed pages should I consult during an install?
Consult the 2002–2006 MINI Torque Specs Chart for assembly values, as well as the Tech School for technical walkthroughs. -
When should I contact SneedSpeed for assistance?
Contact us prior to placing an order whenever you are unsure about exact fitment, vehicle generation details, engine configuration, or required supporting hardware.
Ready to Plan Your R53 Build?
Avoid guesswork and build on a solid foundation. Explore the complete review our technical torque charts, and confirm your vehicle specifications. If you have questions about fitment or supporting components for your target setup, reach out to the SneedSpeed team before ordering.
Conclusion
Proper installation is just as important as choosing the right parts for your R53 MINI Cooper. Following verified torque specifications, using the correct assembly procedures, and reviewing trusted technical resources can help reduce installation mistakes and improve the overall reliability of your build. Whether you are performing routine maintenance, replacing engine components, or completing a full rebuild, taking the time to prepare properly creates a stronger foundation for long-term performance. If you have questions about fitment, torque procedures, or supporting parts, contact SneedSpeed before ordering to ensure you have the right components and technical information for your build.